
For those seeking to revitalize their lavatory, installing an over bath shower is an outstanding option to consider. Over bath showers, also termed bath walls or shower partitions, permit transforming an existing bathtub into a versatile shower/tub combination. This provides both a bathtub and shower in a solitary space.
In this comprehensive guide, we will cover every essential facet regarding over bath showers, including their nature, virtues, fittings, expenditures and more. With adequate knowledge, one can judge if adding an over bath shower is the prudent choice for lavatory refurbishment.
What Is an Over Bath Shower?
An over bath shower is a tempered glass partition mounted above an extant bathtub to renovate it into a showering area also. Frames arrive constructed from aluminium, stainless steel or another material, with toughened glass internals.
The glass undergoes therapy and fortification to render it break-resistant. Frames furnish stability and a refined appearance. Partitions can be fitted on hinges or sliding tracks to allow convenient access and egress from the bathtub area.
Over bath showers serve both practical and aesthetic functions. When secured, they preclude water escaping the bathtub area during showering. This circumvents flooding the lavatory floor with an accessible bathtub. Additionally, the partitions bestow a modern, streamlined appearance. Varieties arrive in transparent or textured opaque styles.

Should I Install Over Bath Shower Screens?
If you are considering upgrades to improve the functionality of your existing bathtub, installing over bath shower screens merits strong consideration. These screens offer a variety of benefits that can transform your standard tub into a more versatile and useful element of your bathroom.
One major advantage of over bath screens is the ability to convert your tub into a combination tub/shower enclosure. The addition of the screen allows you to enjoy showering as well as soaking without undertaking a full remodel. Keeping the water contained while showering, over bath screens prevent splashes and flooding onto your bathroom floors. This helps keep your floors dry, avoiding potential water damage or slip hazards.
At the same time, you can still fill the tub for a relaxing soak when desired. You get the best of both bathing worlds with one simple upgrade.
In addition to the functional perks, over bath screens provide aesthetic appeal as well. The sleek, modern look of a framed glass screen gives your bathroom a refined, updated style. Screens come in various frame finishes and glass textures to match your decor.
Installing over bath screens is also a relatively easy project compared to a complete remodel with tiled walk-in showers. The screens can be fit over your existing tub with minimal demolition or construction required. This makes it a more affordable and accessible upgrade for many homeowners' budgets.
For those with standard alcove tubs in good shape, over bath screens are typically an excellent option. The addition of a screen can greatly increase the utility of your bathroom. By containing splashes and converting to a shower/tub combo, you gain function without losing the ability to soak. If improving your existing tub appeals to you, over bath screens provide an effective upgrade that boosts aesthetics and versatility.Similarly, the shower screen has many benefits, so how to choose can be referred to Shower Screen Styles for Every Bathroom: How to Choose?

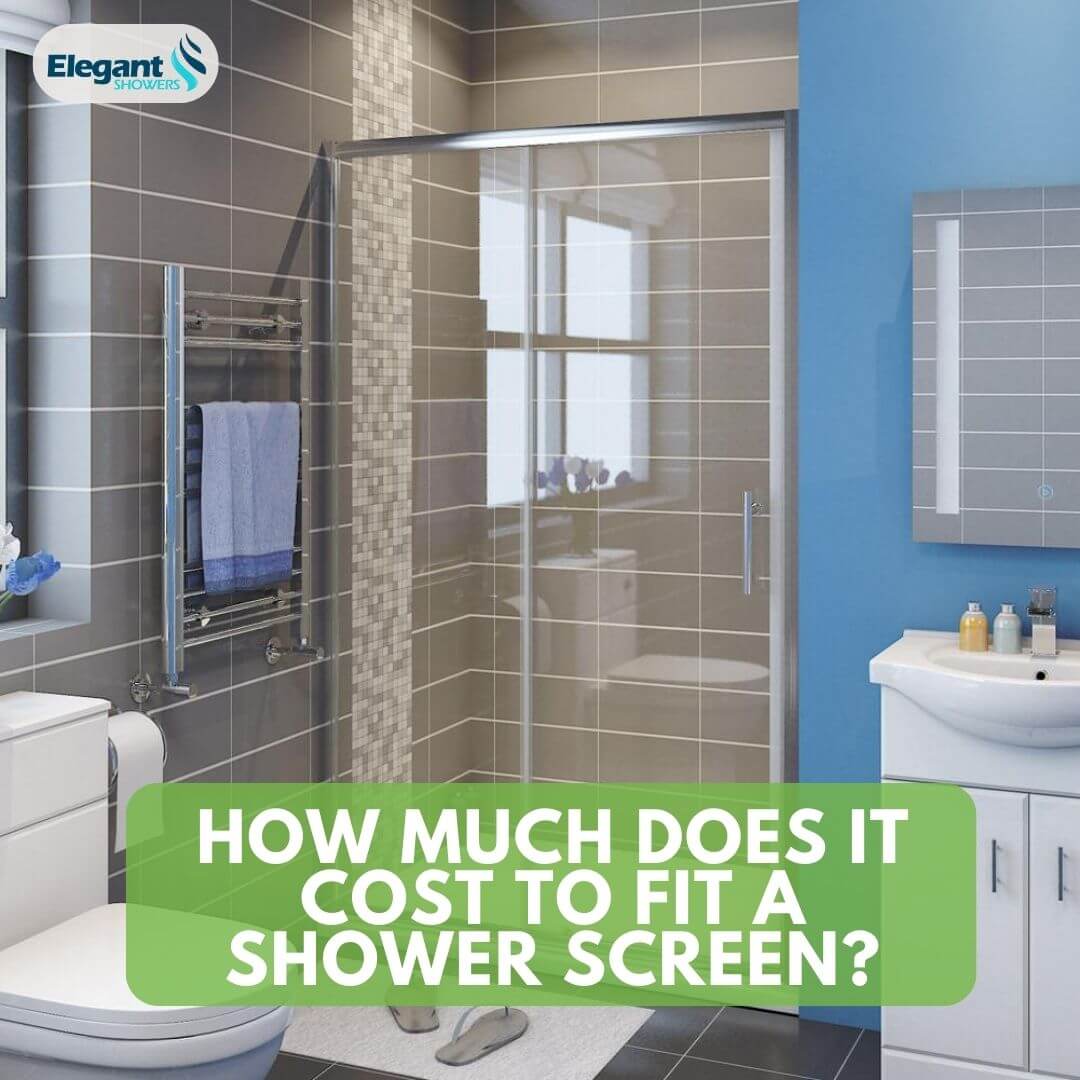
How Much Does It Cost to Install an Over Bath Shower Screen?
On the low end, expect to spend around $200-500 on a basic standard-sized aluminum-framed screen with clear glass if installing yourself. On the higher end, an intricately styled custom glass screen with premium metal frames could range from $800-1,500 or more.
If hiring a professional, most installers charge $200-500 in labor fees depending on the complexity. All told, installing an over bath shower screen typically costs a total of $400-1,500 on average, with the more features and custom work, the higher the price. Carefully weigh the options that best suit your needs and budget.
The total costs to install an over bath shower screen can vary based on several factors:
- Tub size - Larger and wider tubs require bigger shower screens and higher glass/frame material costs. Standard alcove sizes generally need more affordable standard screens.
- Custom vs. standard sizing - Made-to-measure screens precisely fit your unique tub dimensions but are more expensive than pre-made standard sizes.
- Frame material - Economical aluminum frames keep costs lower. Upgraded stainless steel or other metals look more high-end but add to the price.
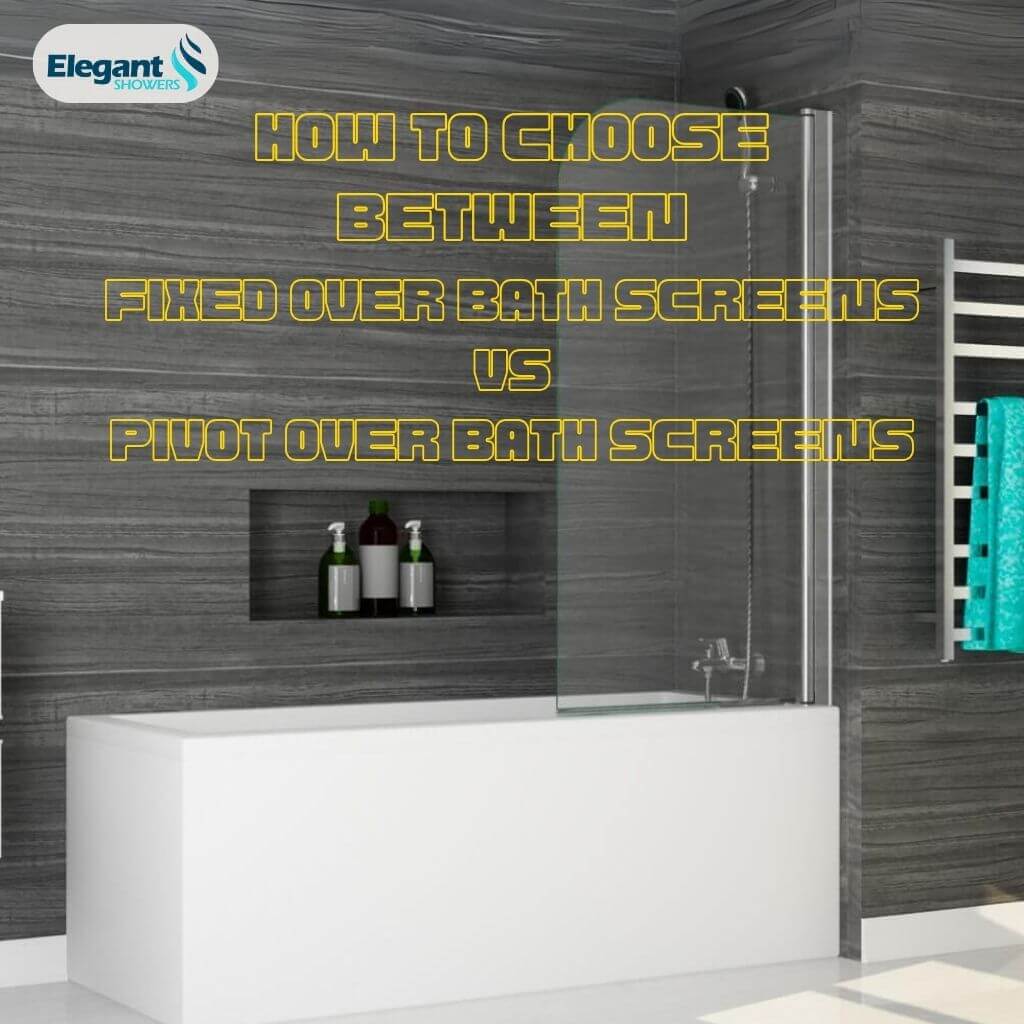
- Style - Fixed glass panels are the most budget-friendly style. More sections with hinges/sliders look sleek but cost more in materials and labor.
- Glass options - Clear tempered glass is the least expensive. Obscured, frosted, or colored glass is pricier but provides more privacy.If want to know more frosted glass overall,please refer to Frosted vs Clear Glass Shower Doors: Cost, Privacy & Cleaning Compared
- DIY or professional installation - Hiring a contractor costs more in labor fees but saves time and guarantees proper fit. DIY can save substantially.
How to Fit a Shower Screen Over My Bath?
Installing a shower screen over your bathtub is a feasible DIY project for those well-versed in home improvements. No need for professional intervention if you're comfortable wielding a few tools. Below is a detailed guide outlining the essential tools, materials, and step-by-step procedures for a successful installation.

Required Tools and Materials
Before diving into the installation, make sure to assemble the following tools and materials to ensure a smooth and efficient process:
- Shower Screen Kit: Comprising the screen, wall profile, and associated hardware.
- Measuring Tape: Essential for obtaining precise dimensions of both the bathtub and wall area.
- Pencil: To indicate the exact drilling points on the wall.
- Electric Drill: Required for drilling pilot holes into the wall.
- Wall Plugs: These will anchor the screws securely in the wall.
- Screws: Necessary for affixing the wall profile and shower screen.
- Spirit Level: To guarantee that the screen is perfectly horizontal.
- Silicone Sealant: For waterproofing the screen's edges.
- Sealant Gun: Enables accurate application of the silicone sealant.
Over Bath Shower Screen Installation Process
Step 1: Take Precise Measurements
Begin by using a measuring tape to ascertain the width of your bathtub where the shower screen will be positioned. Mark the specific points on the wall where the wall profile will be mounted using a pencil.Feel free to learn more measurement knowledge: Measuring for bath Shower Glass Installation
Step 2: Confirm Surface Level
Place a spirit level against the marked wall to verify its levelness. Should you encounter any irregularities, adjust your pencil markings to ensure a level installation.
Step 3: Prepare the Wall for Drilling
Next, use an electric drill to create pilot holes at the marked locations. Insert wall plugs into these holes, making them ready for the screws that will secure the wall profile.
Step 4: Attach the Wall Profile
Align the wall profile from your shower screen kit with the pre-inserted wall plugs. Fasten it securely to the wall using screws, ensuring it remains stable.
Step 5: Install the Shower Screen
Slide the shower screen into the affixed wall profile. Use the spirit level once more to confirm that the screen is horizontally aligned. Once verified, tighten the screws on the wall profile to lock the shower screen into position.
Step 6: Apply Silicone Sealant
Prior to applying the silicone sealant, clean the junction where the shower screen meets both the bathtub and the wall. This will optimize the sealant's adhesion. Utilize a sealant gun to apply a continuous bead of silicone along the screen's edges. Smooth out the sealant with a spatula or a plastic-wrapped finger for a polished finish.
Step 7: Perform a Final Quality Check
Conclude by conducting a thorough inspection to ensure all screws are tightly fastened and that the silicone sealant has been evenly applied. Allow the sealant to cure according to the manufacturer's instructions before using the shower.
By adhering to this in-depth guide, you'll not only enhance the functionality of your bathroom but also elevate its aesthetic appeal through a professional shower screen installation.
For more info about DIY install screen: How to Install a Glass Shower Surround
Conclusion
Installing over bath shower screens is an excellent way to upgrade your bathroom easily and affordably. With a sleek modern look and added functionality, you can convert your standalone tub into a more versatile option. Over bath screens prevent splashes, keep floors dry, and contain your showering space.
Carefully measure your existing tub and research style options to find the right product. Installation can usually be done as a DIY project if you are handy. Follow all manufacturer instructions carefully during the installation. Consider hiring a professional if unsure.
With proper installation, over bath screens can serve you well for many years, providing improved showering function and visual appeal. For most budgets and bathroom layouts, shower screens present an easy and worthwhile upgrade. With the right information, you can determine if adding this functional accent is a smart move for your home.