
|
Phase |
Details |
|---|---|
|
1. Planning |
|
|
2. Choosing Components |
|
|
3. Installation |
|

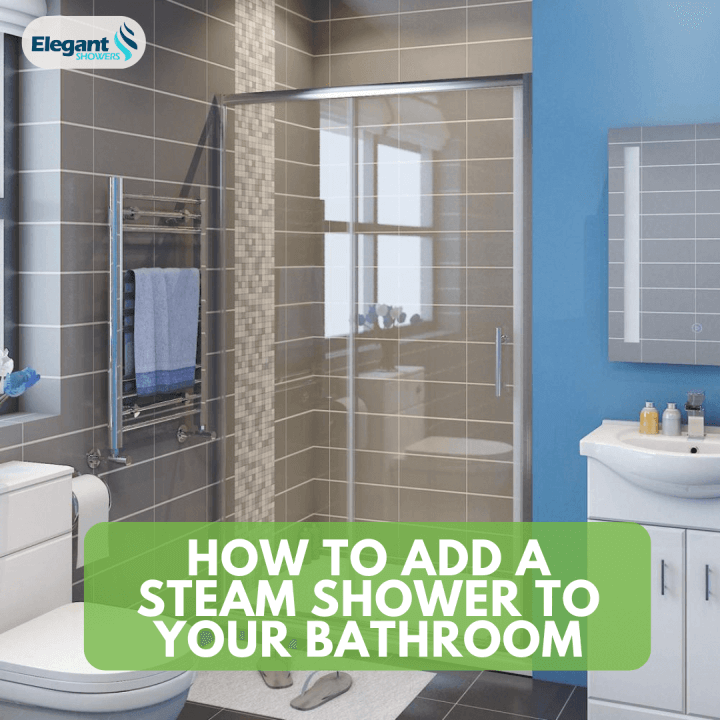
Imagine stepping into your own personal spa after a long day, letting the steam envelop you as it melts away stress and soothes tired muscles. With a steam shower in your bathroom, this luxury can be a daily reality.
In Australia, where the average household spends 20 minutes per day in the bathroom(most at 7-8am), a steam shower can elevate this routine experience into a restorative retreat. This article will guide you through the process of adding a steam shower to your bathroom, from planning to installation.
Planning Your Steam Shower
Before diving into installation, it's crucial to plan your steam shower carefully. Consider the following factors:
- Space: A steam shower requires a minimum of 2.1 square meters (approximately 7 square feet) of space, with a ceiling height of at least 2.1 meters. Ensure your bathroom can accommodate these dimensions.
- Materials: Choose materials that can withstand high humidity, such as ceramic tile, glass, and waterproof membranes. Avoid porous materials like wood or unsealed grout.
-
Ventilation: Proper ventilation is essential to prevent mold and moisture damage. Install an exhaust fan with a minimum capacity of 0.5 cubic meters per minute for every square meter of shower space. (
The formula for calculating CFM is: airflow = room's floor area × ceiling height (ft) × recommended ACH (air changes per hour) ÷ 60 (minutes per hour))
-
Drainage: Your steam shower will need a floor drain and a slight slope (about 2%) to ensure proper water drainage. 'One of the most common mistakes that people make when installing a walk-in shower is not adding slopes,' says Rachel Jones, Bathroom Design Expert, MyJobQuote. 'A minimum of a 2% slope is needed within the shower space to ensure proper drainage.' - Idealhome.com
-
Electrical and Plumbing: You'll need a dedicated 240V electrical circuit for the steam generator and access to hot and cold water supply lines.

Choosing Your Steam Shower Components
A steam shower consists of several key components:
- Steam Generator: At the heart of your steam shower, the generator heats water to create steam. Size the generator based on your shower's cubic volume, with a general rule of 0.5kW per cubic meter. Australian energy usage for steam showers averages around 4.8kWh per week, less than running a 10-minute shower each day.
- Control Panel: The control panel allows you to adjust steam duration and temperature. Look for a waterproof, intuitive design.
- Steam Head: The steam head disperses steam evenly throughout the shower. Place it away from the entrance to prevent steam from escaping.
- Shower Door: A tight-sealing, tempered glass door is essential to keep steam inside. Frameless designs offer a modern, spacious look.
- Bench Seat: A built-in bench allows you to sit and relax in the steam. Waterproof materials like concrete, tile, or stone work best.
- Additional Features: Consider extras like aromatherapy, chromotherapy lighting, and a sound system to enhance your steam shower experience.

Installation Steps
1. Prepare the space
- Remove any existing fixtures, such as the old shower, toilet, or sink, to create a clear working area. This may require shutting off water supply lines and disconnecting drainage pipes.
- Strip away old tiles, flooring, and wall coverings down to the bare substrate, which is typically cement board or concrete. Repair any damage to the substrate to ensure a stable, level surface for the new steam shower.
- Install a waterproofing membrane on the walls and floor of the shower area. This is crucial to prevent moisture from penetrating into the structure of your home. Apply the membrane according to the manufacturer's instructions, ensuring that it covers the entire shower area seamlessly. Some common waterproofing methods include applying a liquid membrane, installing a sheet membrane, or using a vapor barrier behind the tile backer board. Learn these 25 tips for waterproof shower enclosure here.
2. Install shower components
- Begin by placing the floor drain in the center of the shower floor. Ensure that the drain is properly connected to the main drainage system and sealed to prevent leaks.
- Next, install the steam generator according to the manufacturer's instructions. This typically involves mounting the generator in a nearby closet or utility space, connecting it to the electrical and plumbing systems, and running the steam line to the shower area. Ensure that the generator is easily accessible for maintenance and servicing.
- Install the control panel in a convenient location within the shower area, typically near the entrance. The control panel should be connected to the steam generator according to the manufacturer's wiring diagram. Make sure the control panel is properly sealed and waterproofed to protect it from moisture damage.
- Mount the steam head on the wall opposite the shower entrance, about 15-20 cm above the floor. The steam head should be connected to the steam line from the generator. Ensure that the connection is secure and leak-free.
- Run the necessary electrical wiring and plumbing connections for the steam generator, control panel, and any additional features such as lighting or audio systems. All electrical work should be performed by a licensed electrician to ensure compliance with local building codes and safety standards.
3. Tile and seal
- Install your chosen tile or stone on the walls and floor of the shower area. Start by applying a layer of thin-set mortar to the substrate using a notched trowel. Place the tiles firmly into the mortar, using spacers to maintain consistent gaps between tiles.
- Once the tiles are set, apply grout to fill the gaps between them. Use a rubber float to spread the grout evenly, then wipe away excess grout with a damp sponge. Allow the grout to cure according to the manufacturer's instructions.
- After the grout has cured, apply a waterproof sealant to all joints and corners, including the junction between the walls and floor and around the steam head and control panel. This will provide an extra layer of protection against moisture infiltration. Use a high-quality, mold-resistant silicone caulk and apply it smoothly with a caulking gun.
4. Add final touches
- Install the shower door according to the manufacturer's instructions. Ensure that the door is properly aligned and seals tightly to prevent steam from escaping. If using a frameless glass door, pay special attention to the mounting hardware and gaskets to ensure a secure, leak-free installation.
- Install the bench seat, if desired, by attaching it securely to the wall studs or floor. Ensure that the bench is level and properly sealed to prevent water from penetrating behind it.
- Add any additional features, such as aromatherapy dispensers, chromotherapy lighting, or audio systems, according to the manufacturer's instructions. Ensure that all components are properly sealed and waterproofed to withstand the humid environment of the steam shower.
- Finally, test all components of the steam shower to ensure proper function. Turn on the steam generator and allow it to run for a full cycle, checking for any leaks, malfunctions, or unusual noises. Test the control panel, door seal, and drainage to verify that everything is working as intended. Make any necessary adjustments or repairs before using the steam shower regularly.
By following these detailed installation steps and ensuring proper sealing and waterproofing throughout the process, even a novice DIY enthusiast can successfully install a steam shower in their bathroom. Remember to consult with professional electricians and plumbers as needed, and always adhere to local building codes and manufacturer guidelines to ensure a safe, long-lasting installation.
Maintenance and Safety
Regular maintenance will keep your steam shower functioning optimally:
- Clean regularly with a mild, non-abrasive cleaner to prevent mineral buildup and mold growth. Over 50% of Australian households clean their bathrooms at least weekly.
- Descale the steam generator every few months or as needed based on water hardness. Follow manufacturer guidelines for descaling frequency and methods.
- Inspect door seals, grout, and caulking regularly, replacing as needed to maintain a tight seal.
Safety is also key when using a steam shower:
- Always follow the manufacturer-recommended usage guidelines for duration and temperature. The average safe steam shower temperature is around 43°C.
- Exit the steam shower slowly and carefully, as the heat can cause dizziness. Drink water before and after to stay hydrated.
- Consult your doctor before using a steam shower if you have certain health conditions, such as heart disease, low blood pressure, or respiratory issues. Pregnant women should also AVOID steam showers.
- NEVER leave children unattended in a steam shower.
The Bottom Line
Adding a steam shower to your bathroom can transform your daily routine into a luxurious, rejuvenating experience. With careful planning, selection of quality components, and proper installation, you can enjoy the benefits of a steam shower for years to come. By following regular maintenance and safety guidelines, your steam shower will remain a safe and inviting oasis.